Can children truly make an ornament on their own that someone will proudly hang on their tree? I think so.
We love making ornaments to give as gifts and I cherish the ones that I pull out of our Christmas ornament boxes each year. The tacky glue reindeer and the red glitter star photo frame that I made in preschool and the lovely ornaments my children have made in the past few years. Some are admittedly not gorgeous, but some are wonderful. It is one of my favorite Christmas traditions.
This year however our ornaments are the best yet.
It is entirely possible that this is because I had almost nothing to do with them.
I was a little stuck deciding what to make this year. We spent Thanksgiving in New York City this year and got to see the Rockefeller Christmas Tree first hand. I knew The Carpenter’s Gift would be perfect to share with my kids and I knew I wanted us to make some sort of tree, however that was the extent of my inspiration.
That’s when I turned to my hubby.
I told him my vision: A tree. The rest is his work and you can see his detailed instruction below.
He is amazing at building and creating – skills that I love that he is passing on to our children. Everyone should leaving home knowing how to use basic tools! I watched (and took photos) in amazement as they worked together to make these wooden tree ornaments.
this post includes affiliate links

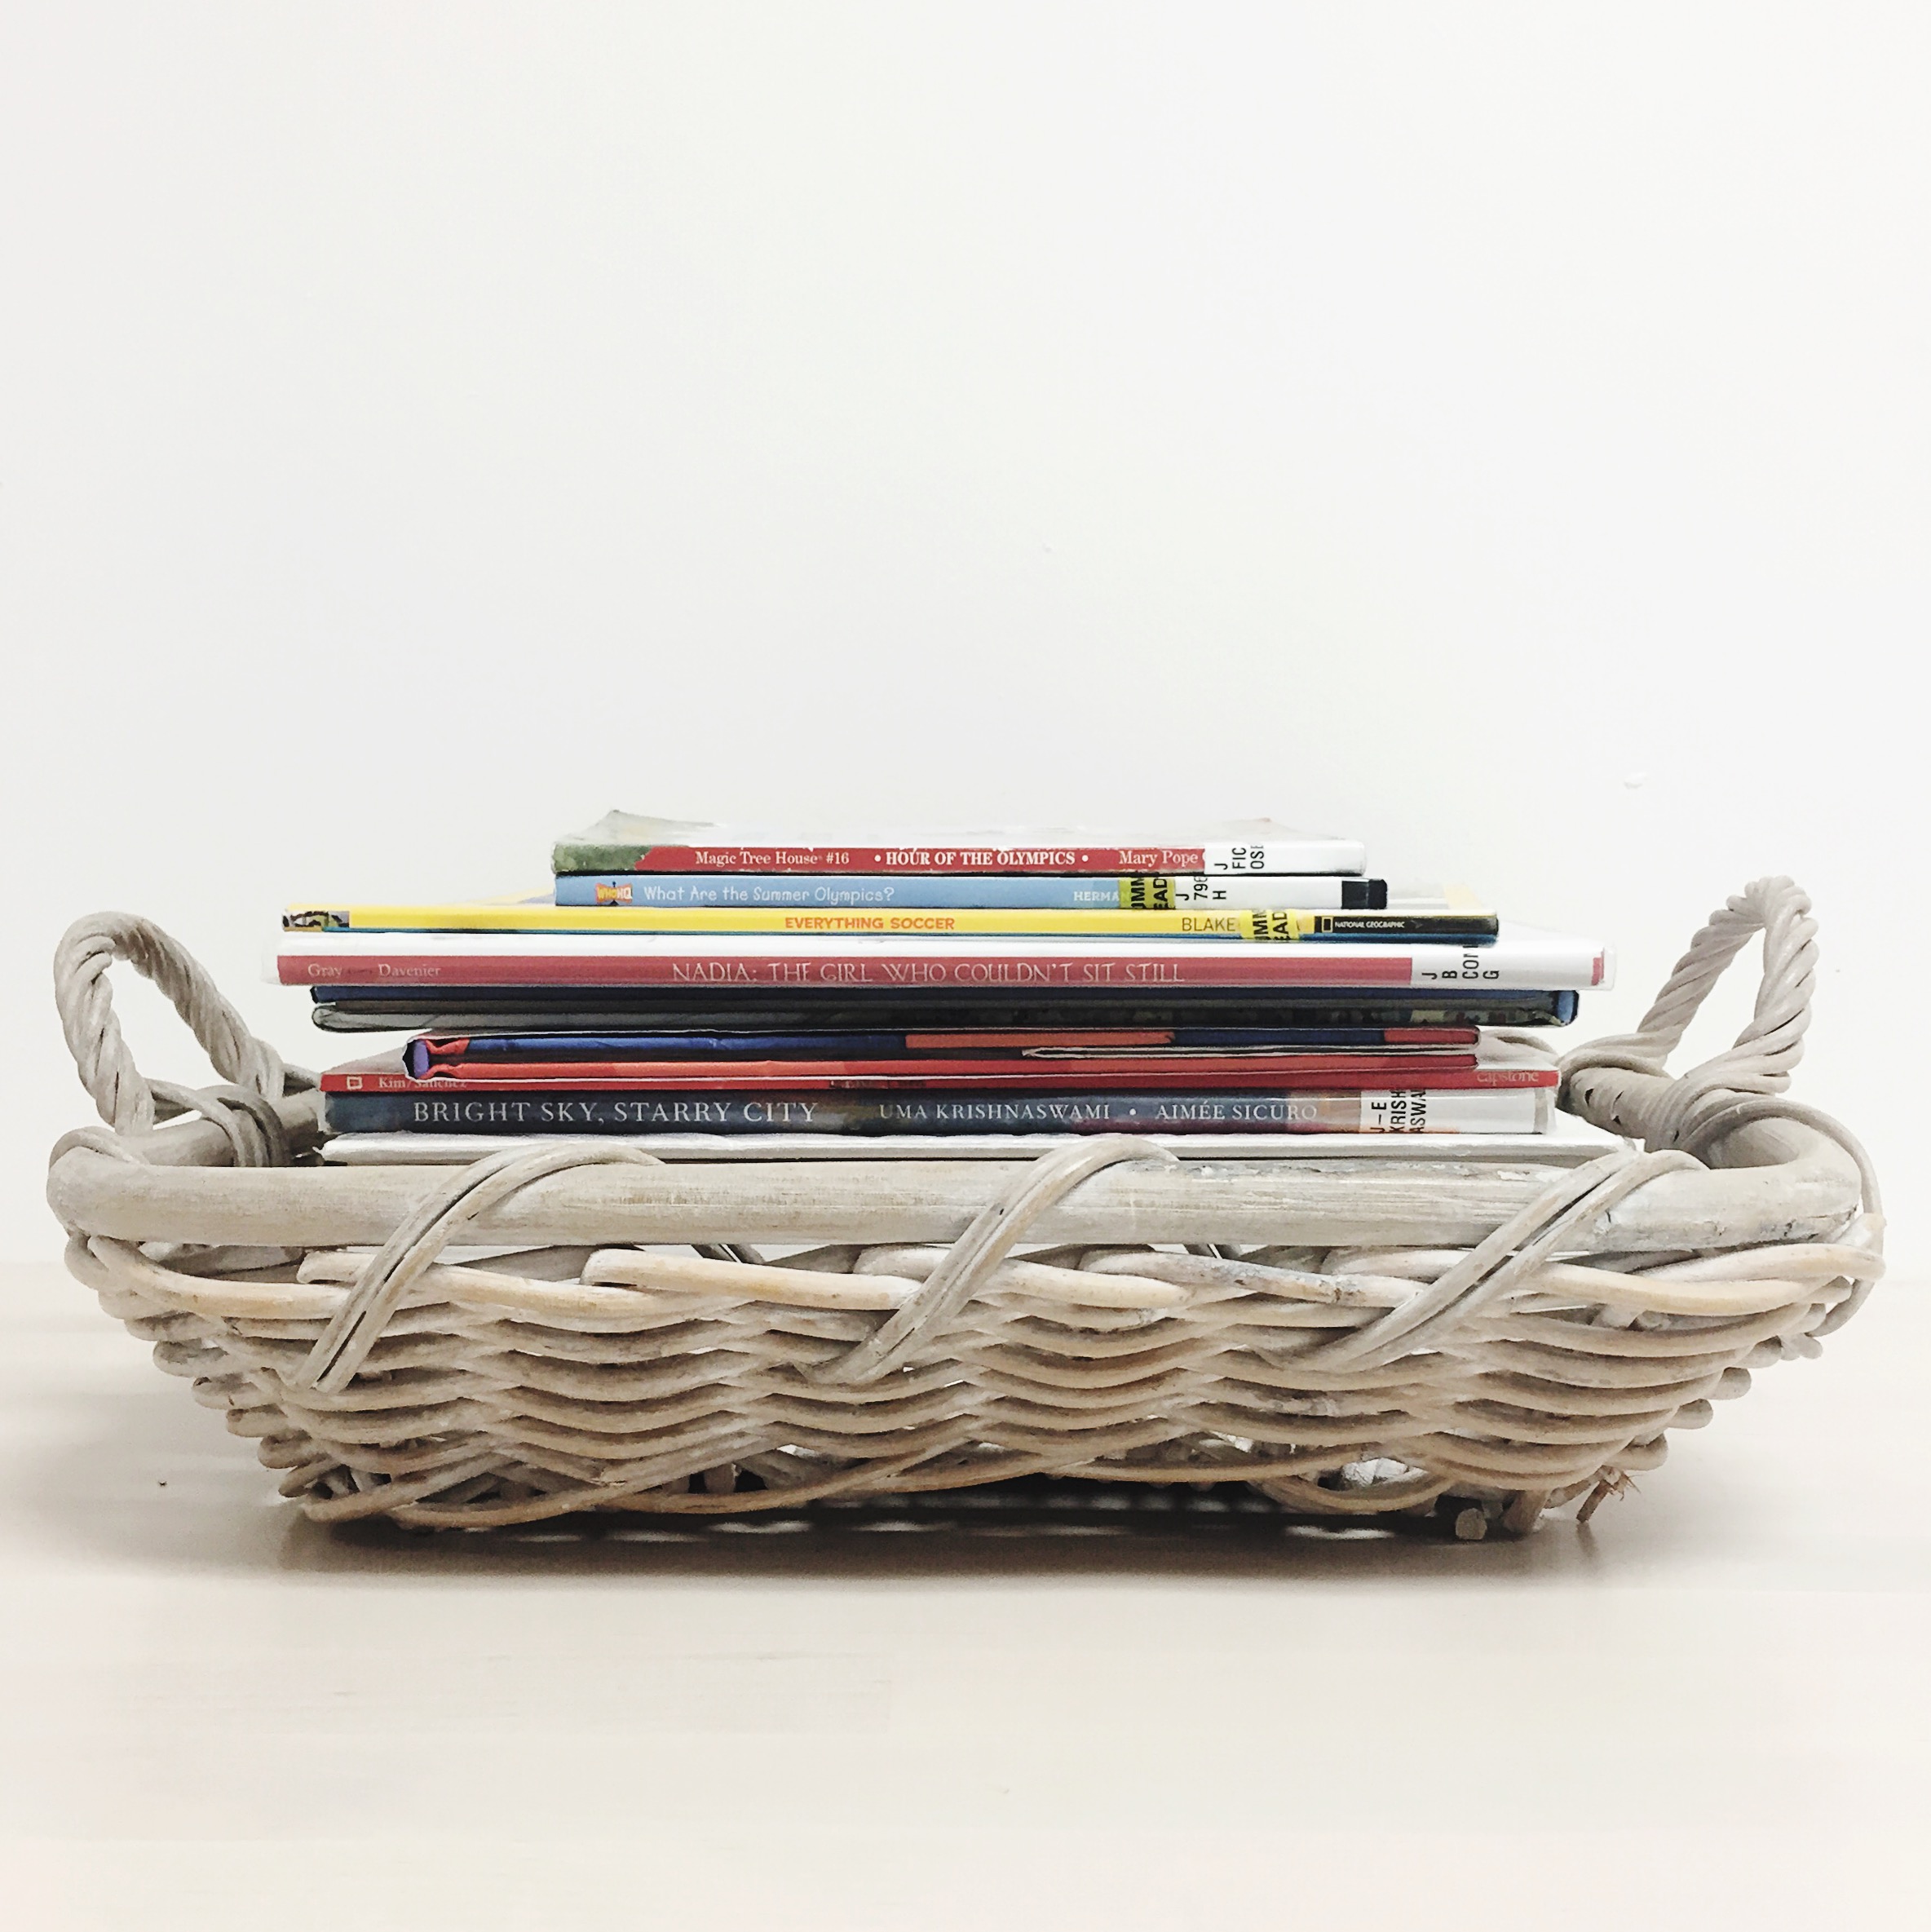
About the Book
The Carpenter’s Gift : A Christmas Tale About the Rockefeller Center Tree by David Rubel
Order it Online
The Carpenter’s Gift is set in New York during the Great Depression. It tells the story of the very first tree in Rockefeller Center. This new classic Christmas gift book “brings together two great traditions: the Rockefeller Center Christmas tree and the neighbor-helping-neighbor program of Habitat for Humanity.” Opening in Depression-era New York City, The Carpenter’s Gift tells the story of eight-year-old Henry and his father selling Christmas trees. They give a Christmas tree to construction workers building Rockefeller Center and celebrate together. Through the kindness of the construction workers and neighbors, Henry gets his wish for a nice, warm home to replace his family’s drafty shack. He plants a pinecone from that first Rockefeller Center Tree. As an old man, Henry repays the gift by donating the enormous tree that has grown from that pinecone. After bringing joy to thousands as the Rockefeller Center tree, its wood will be used to build a home for another family in need. It is a beautiful story of the kindness and generosity that bring warmth to this time of year.
Read Also: Ultimate Guide to Christmas Books for All Ages

How To Make a Wooden Tree Ornament
Materials:
- 1/2″ square wooden dowels
- Saw (hand saw, hack saw, or miter saw)
- Ruler
- Quick Clamp
- Brad tipped drill bit
- Wood stain
- 3/8″ cloth ribbon
- Scotch Tape
- #3 3/8″ Cut Tacks
*Note: You can find all of the materials on Amazon or at a local hardware store.

STEP ONE : DESIGN + MEASUREMENT
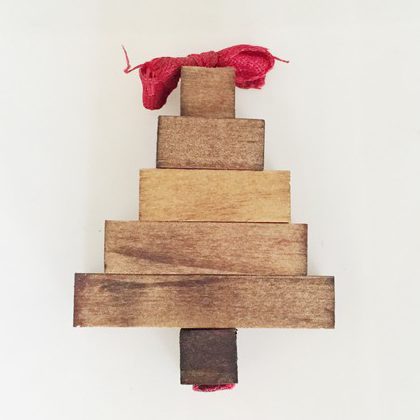
You can see from the title image that each tree has 6 levels made from the 1/2 inch square dowels. The lengths are: .5″, 1″, 1.5″, 2″, 2.5″ and another .5″ in descending order. The first skill that I wanted to work with our kids on was doing the marking for measurements. Given the somewhat complex nature of making 6 continuous measurements, remembering to add .25″ for the saw blade I decided to tape the ruler (in the picture I am using a drywall square) so that our children would just need to make a mark where the tape met the wood. To speed up the process we marked both ends of the dowel.

STEP TWO : Cut the Wood
Note: You don’t need a huge miter saw!!
The next step was cutting and this is where my limited tool set prevented some more hands on participation from our children. In the picture above I am using a miter saw (chop saw) to make the cuts. A mini miter saw or a hack saw could have been used. The full size miter saw was a little more tool than the job needed and this resulted in some of the pieces being kicked from the saw (please practice safe tool use with protective equipment and keeping fingers safely away from the blade). Because of this I had our children standing about 10 feet away and slightly behind me. I would cut 2-4 sets of 6 pieces and then stop cutting and have them collect the pieces. We would also pause to add more markings to the dowels as each one made about 5 trees.

We ended up making the collection of the pieces into a game where each child would try to collect 1-2 trees and then take them to the safe area and place the pieces in order using a template.

Step Three : Drilling
The next skill we worked on was drilling. Regarding the set up we used a 3/16″ brad tipped drill bit, a quick clamp, and a spare piece of junk wood. I would recommend using brad tipped bits as I aligned the drill in place and the bit pushed into the wood making it so the kids didn’t move the point of entry when taking hold of the drill.
The quick clamp is extremely important because with such small pieces the torque of the drill will be stronger than you can grip the wood which will cause it to spin resulting in hand injuries. Lastly since we were drilling through the pieces having the board allowed us to work on the ground without hitting the cement below.
As I mentioned I lined up the drill bit in the center of the piece. I then asked our kid to take hold of the handle while I held the top of the drill (this is not a safe place to hold every drill as some can get hot or spark in this area). Their job was pulling the trigger as I applied the down then up motions.


Step Four : Applying Wood Stain
The initial picture introducing this project is of an unfinished wood tree, however, I thought it would be fun to have the different levels stained a few different colors. I ended up choosing 4 different wood stains. I got the darkest stain I could find which would represent the trunk of the tree and then what I thought was going to be a light brown, a dark brown, and a red.
Unfortunately, my dark brown and red ended up looking very similar. I am sure I could have found a way of incorporating our children had I put my mind to it but I ended up doing this step myself as stain doesn’t particuarly come off hands or clothes well.
For the set up I bought 4 $0.99 painter trays, shop towels, and some non-latex gloves. I poured a stain into a painter’s tray and with gloves on dipped the indiviudal pieces. I then set them on the top of the tray for a moment to dry. They were then moved to the shop towel where the excess stain was wiped off and they were left to dry overnight.
I repeated this with each of the four stains. In an effort to be fancy I attempted to make two different patterns trees L=Light Stain D=Dark R=Red and VD=Very Dark, from top to trunk
Tree 1 – R,D,L,R,D,VD
Tree 2 – L,D,R,L,D,VD
This ended up being a lot to keep track of in the staining and organization process. But as we had the kids put the trees together we gave them each one style to be responsible for which worked well.

Step Five : Tree Assembly Prep
We used 3/8″ cloth ribbon to lace through the blocks.
We started with an approximately 18″ piece which we folded in half. We taped the cut ends together and as you can see in the picture above, left about 3/4″-1″ of tape hanging off the end. This was used to help the kids lace the string through the pieces.

I started by stringing each of the trunk pieces.
After running the taped end through I would pull the ribbon 90% of the way through the block. I would then place a #3 3/8″ Cut Tack at the bottom of the loop. As I pulled the last bit of the ribbon through it took the point of the tack in with it. The head of the tack was big enough to not get pulled through.
Since we were creating a lot of trees, I also prepared a bowl for each level of the tree and laid them out in order. This way while they worked they could just take one block from each bowl and pull it onto the ribbon.

Step Six : Tree Assembly
The started ribbons with the first block was then given to the kids so they could lace through the remaining blocks. There were a few missed levels every once in a while but it was easy enough for them to slide the pieced off and try again.

Once a tree was complete it was handed back to a parent who cut off the taped top of the ribbon and tied a shoelace style bow. This created the finished project.

More Ornaments Inspired by Children’s Books
Glitter Popcorn Ornaments on Sunny Day Family
Orange Pomander Ornaments on The Soccer mom Blog
Jack Frost Icicle Bunting on Witty Hoots
Book of Kisses Ornament on Zing Zing Tree
Craft Stick Ornaments on Books and Giggles
Double Sided Elmo & Grover Ornament on Glue Sticks and Gumdrops
Kid Made Ornament on Happily Ever Mom
Kids I Spy Ornaments on Craft Create Calm
Paper Plate Baubles on Arty Crafty Kids
Find even more in the 10 Days of Kid-Made Christmas Series